Mortar is one of the most essential components in construction, especially when it comes to block work. It’s the sticky material that holds your blocks or bricks together, providing strength and stability to the entire structure. Mortar is typically made from a mix of cement, sand, and water, and sometimes includes lime to improve workability. While it may sound simple, getting the right mix and applying it properly is key to ensuring your project stands the test of time.
Let’s walk through an easy checklist to help you make sure your mortar for block works is mixed and applied correctly. Whether you’re a DIY enthusiast or a professional builder, this guide will cover everything you need to know.

1. Know Your Mortar Type (US and UK Standards)
Mortar types vary depending on the project’s requirements and the country you’re working in. Therefore, understanding the correct classification is essential.
- In the US, mortar is categorized into types under the ASTM C270 standard:
-
- Type N: A general-purpose mortar for exterior walls and above-ground structures.
- Type S: Used for load-bearing walls and foundations because of its higher strength.
- Type M: The strongest option, perfect for foundations and severe weather conditions.
- Type O: Low-strength mortar, mainly used for non-load-bearing walls and interior work.
- In the UK, mortars are classified by Designations under BS EN 998-2:
-
- Designation 3 (similar to Type N): Suitable for most block work above ground.
- Designation 2 (similar to Type S): Used for load-bearing structures or exterior work.
- Designation 1 (similar to Type M): The strongest mix for below-ground applications.
- Designation 4 (similar to Type O): Low-strength mortar for repair and internal walls.
Tip: Always check your local building codes to ensure you’re using the correct mortar type. In general, Type N (US) or Designation 3 (UK) is commonly used for block work unless the project requires higher strength.

2. Get the Right Mix
Getting the proportions right is essential for creating mortar that’s both strong and easy to work with. The typical mortar mix consists of:
- Cement: Provides the strength.
- Sand: The bulk material that helps bind everything together.
- Water: Helps activate the cement and makes the mortar workable.
- Lime (optional): Makes the mortar more flexible and easier to work with, especially for larger projects.
Mix Ratios depend on the mortar type:
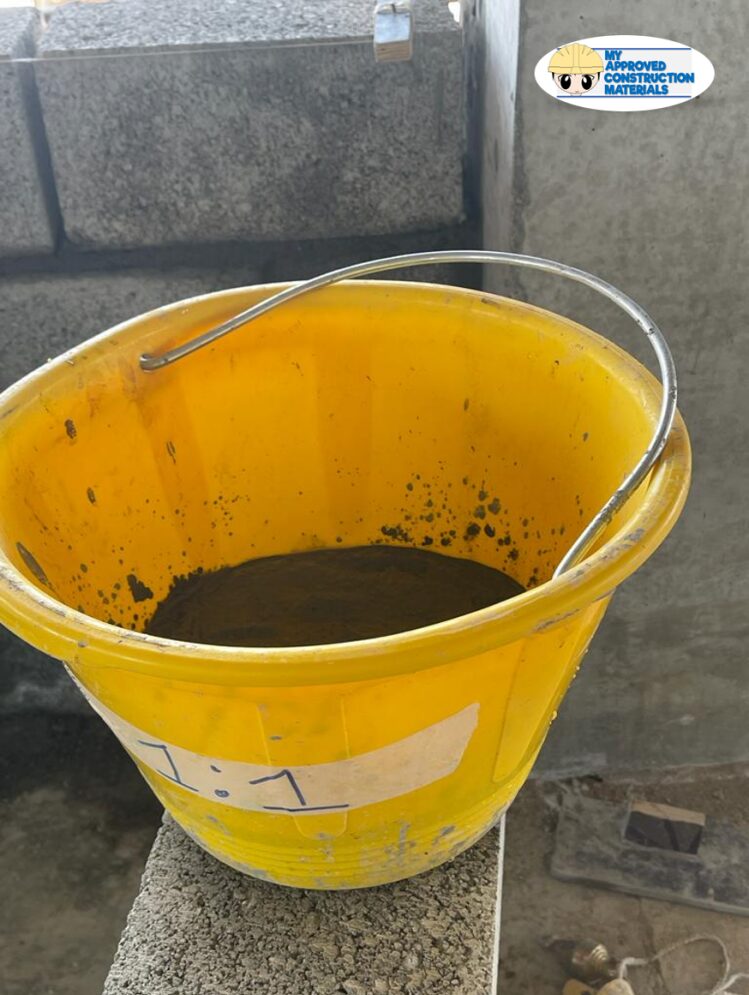
- Type N (US): 1 part cement, 1 part lime, 6 parts sand.
- Designation 3 (UK): Similar to Type N, with a mix ratio of 1:1:6.

Tip: Add water gradually while mixing. You want a paste-like consistency that’s sticky but not too runny. If it’s too dry, it will be hard to apply. If it’s too wet, it won’t hold the blocks properly.
- ASTM C270 (Standard Specification for Mortar for Unit Masonry): This is the American standard that outlines the types of mortar and their mix ratios (Type M, S, N, O), as well as their compressive strengths in PSI.
- BS EN 998-2 (Specification for Mortar for Masonry – Part 2: Masonry Mortar): This is the European and UK standard that specifies the mix proportions for different mortar designations and their corresponding compressive strengths in MPa.
3. Use Clean Materials
It’s important to use clean sand and water when mixing mortar. Otherwise, contaminants such as dirt, chemicals, or organic material may reduce bonding strength.
- Sand: Should be clean and sharp, free from impurities.
- Water: Make sure it’s potable (drinkable), as dirty water can negatively affect the mix.
Tip: Avoid using beach sand because it contains salt, which can damage the mortar over time.
4. Check for Workability
Workability refers to how easy it is to spread the mortar and how well it holds the block in place. The mortar should be smooth and easy to apply. If it’s too stiff, it will be difficult to spread. If it’s too runny, it won’t hold the blocks properly.
Tip: After mixing, pick up a small amount of mortar with your trowel. It should stick to the trowel and stay put when applied to a block, without sliding off.
5. Watch the Weather
Mortar needs proper conditions to set correctly. For example, extreme heat can cause rapid moisture loss and mortar may dry out too quickly and crack. If it’s too cold, it may not set at all.
- In hot weather, keep the mortar moist by misting it with water.
- In cold weather, use warm water to mix and cover the work area to protect the mortar from freezing.
Tip: The ideal temperature for working with mortar is between 5°C and 32°C. Avoid working in extreme weather conditions if possible.
6. Check the Joint Thickness
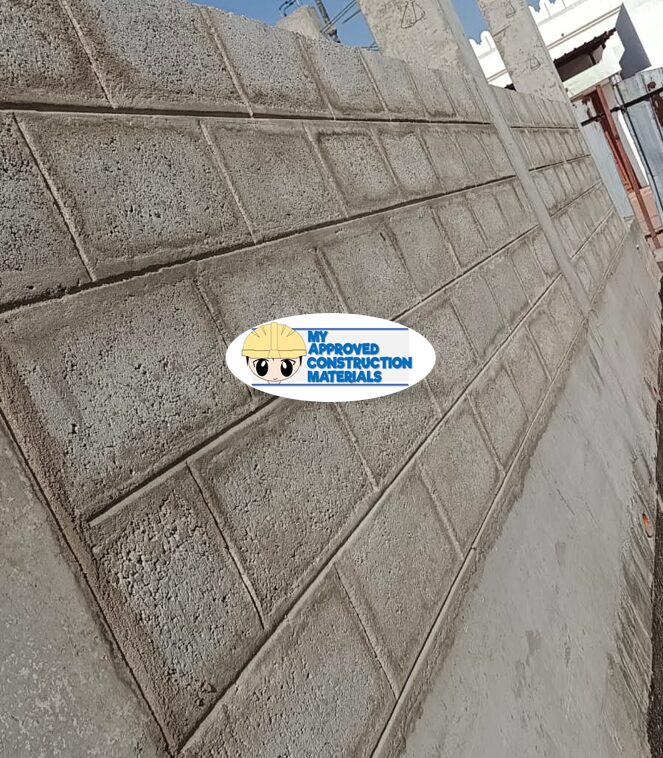
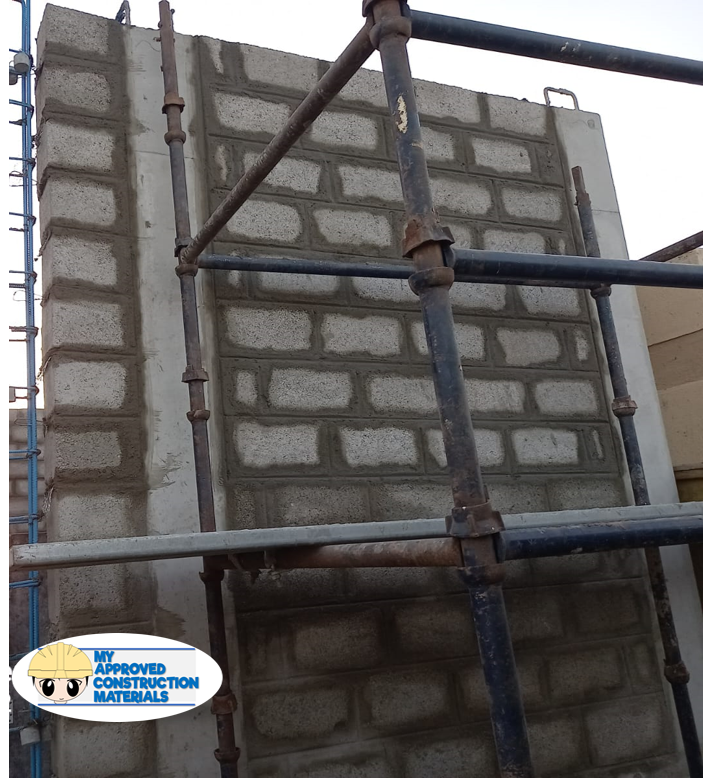
For block works, the ideal joint thickness is around 10 mm. Consistent joint thickness makes the structure stronger and more visually appealing.
Tip: Use a jointing tool to smooth and compress the joints, which will help prevent water infiltration and make the wall look neat.

7. Curing the Mortar
Curing is essential to the strength and durability of your mortar. It simply means keeping the mortar moist for a period of time after it’s been applied.
- Mist the joints with water regularly over the first 48 hours.
- In hot weather, cover the masonry with plastic to retain moisture.
Tip: Don’t rush the curing process. Proper curing increases the strength and life of the mortar.
8. Clean as You Go
Mortar stains on blocks or bricks can be tough to remove if left to dry. Clean off any excess mortar immediately after application.
Tip: Keep a bucket of water and a sponge nearby to clean up any spills or smears right away. A clean wall looks more professional and is easier to maintain.
Conclusion
Following this checklist will help you ensure that your mortar for block works is mixed and applied correctly, giving you a strong and durable structure. Whether you’re using US standards (Type N, S, M, O) or UK standards (Designation 1, 2, 3, 4), getting the mix ratios, weather conditions, and application just right will make all the difference.
Bibliography
- Allen, E. and Iano, J. (2019) Fundamentals of Building Construction: Materials and Methods. 7th edn. New Jersey: John Wiley & Sons.
- Neville, A.M. (2011) Properties of Concrete. 5th edn. Essex: Pearson Education.
- Kosmatka, S.H., Kerkhoff, B. and Panarese, W.C. (2011) Design and Control of Concrete Mixtures. 15th edn. Skokie: Portland Cement Association.
- McGinley, K.J. and Robinson, M. (2017) Brickwork and Blockwork for Dummies. 1st edn. London: Wiley & Sons.
Check also my post about masonry building materials.

Having the right mix in your mortar is vital if you want to ensure that your bricks are going to stay being stuck together. I can remember being much younger when my parents had some building work done, and the wrong mix was used, which resulted in a small wall being pushed over. Thankfully it was fixed.
And after that we had to keep the brickwork moist for the first few days so that the mortar could cure properly. The hotter and drier the weather, the more often one needs to spray it with water.
It would be interesting to know if Australia has the same classifications for mortar as the UK, or if it is the same as the USA, or different altogether. Thank you for sharing this helpful guide.